


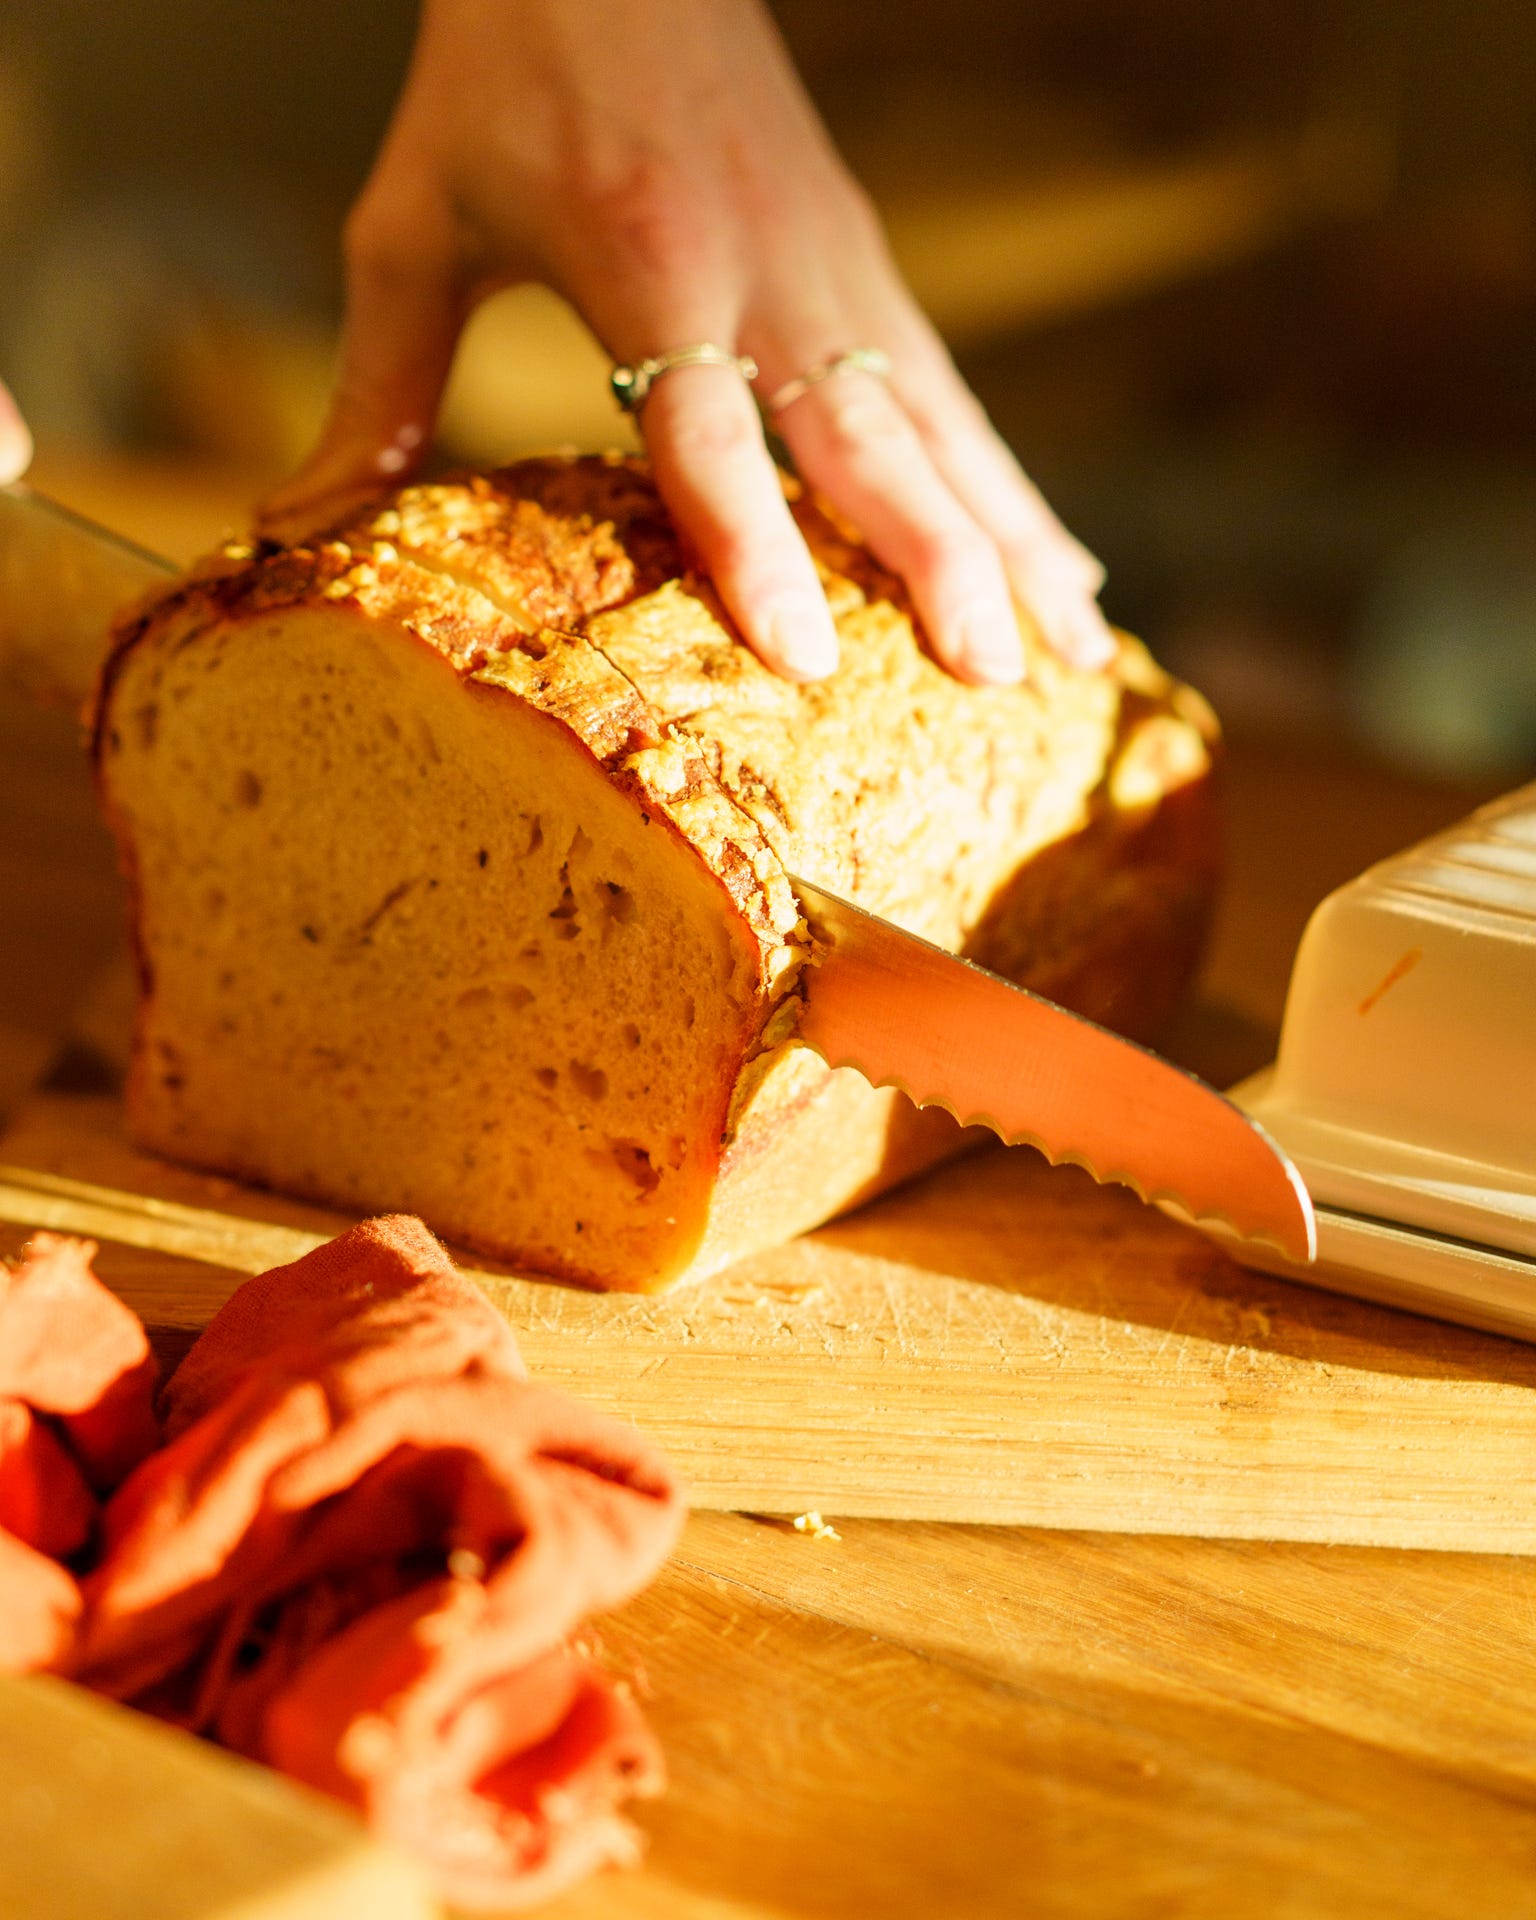
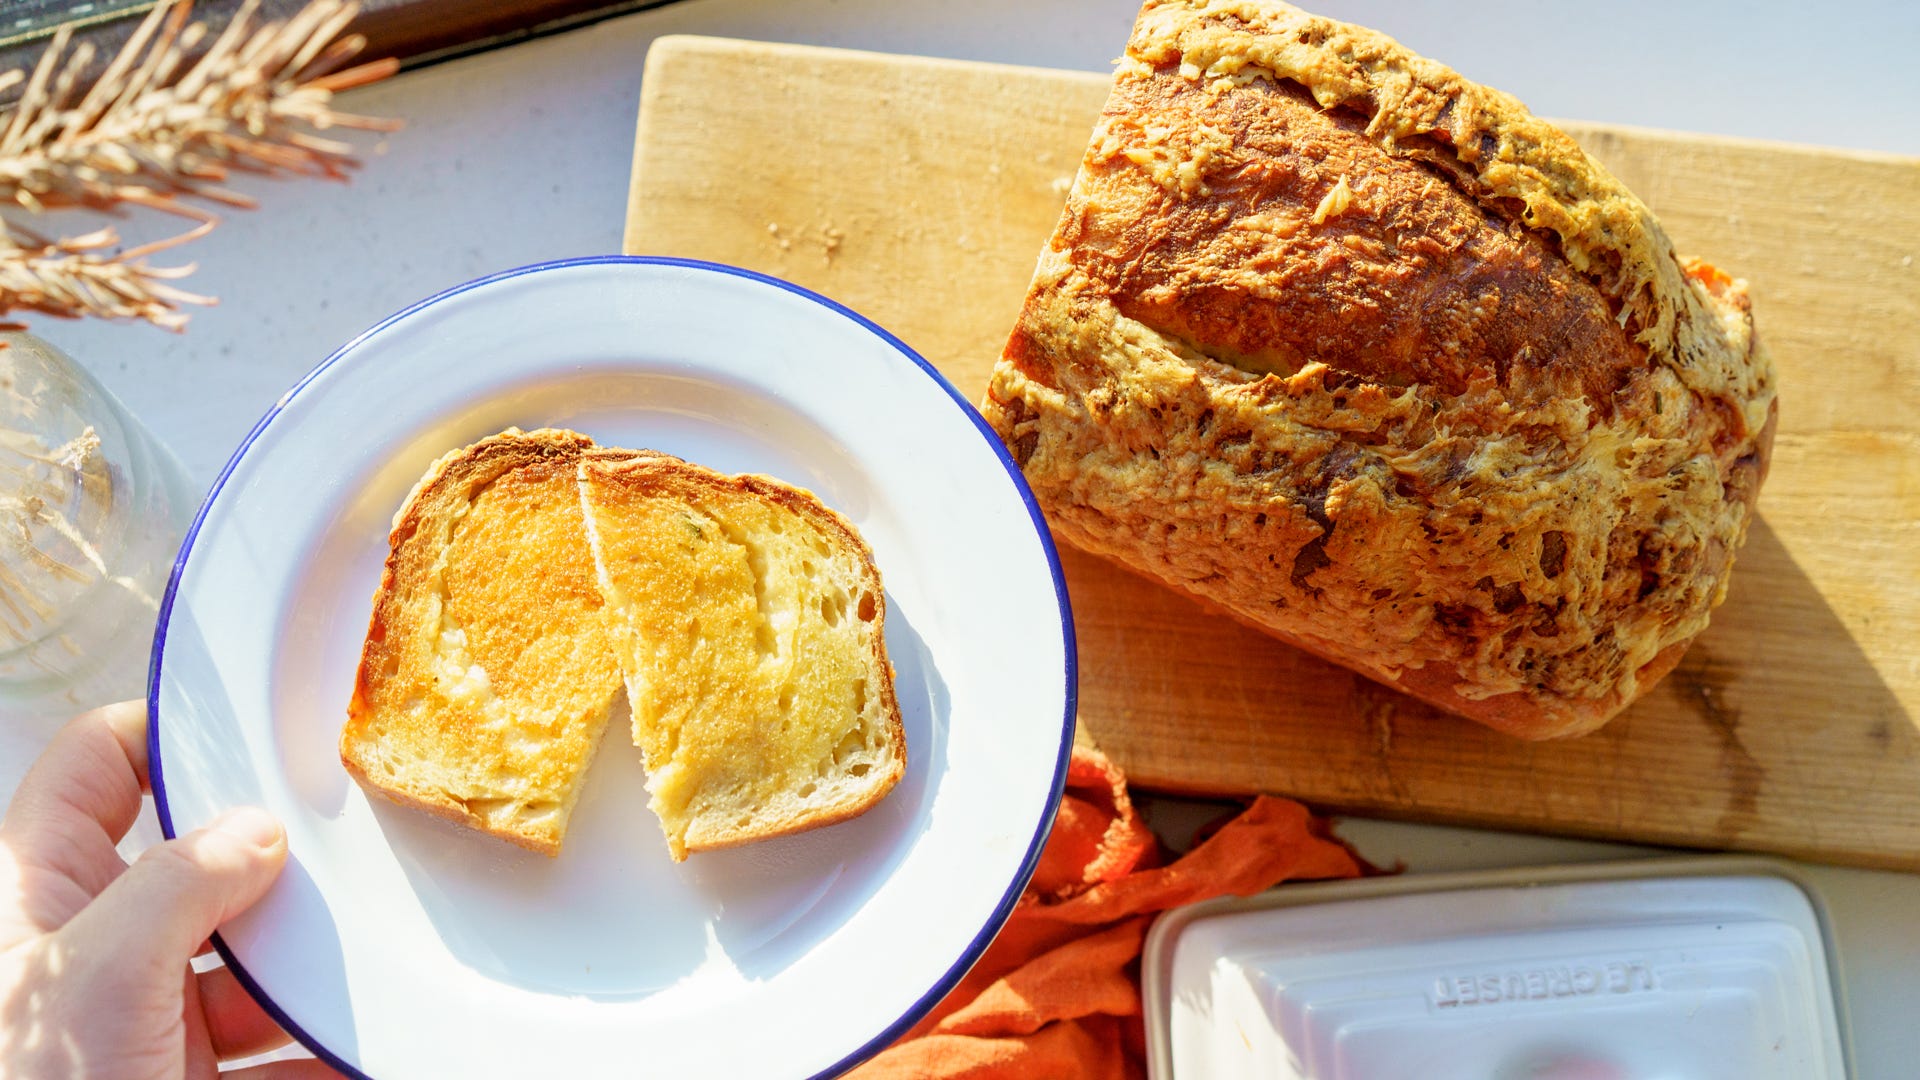
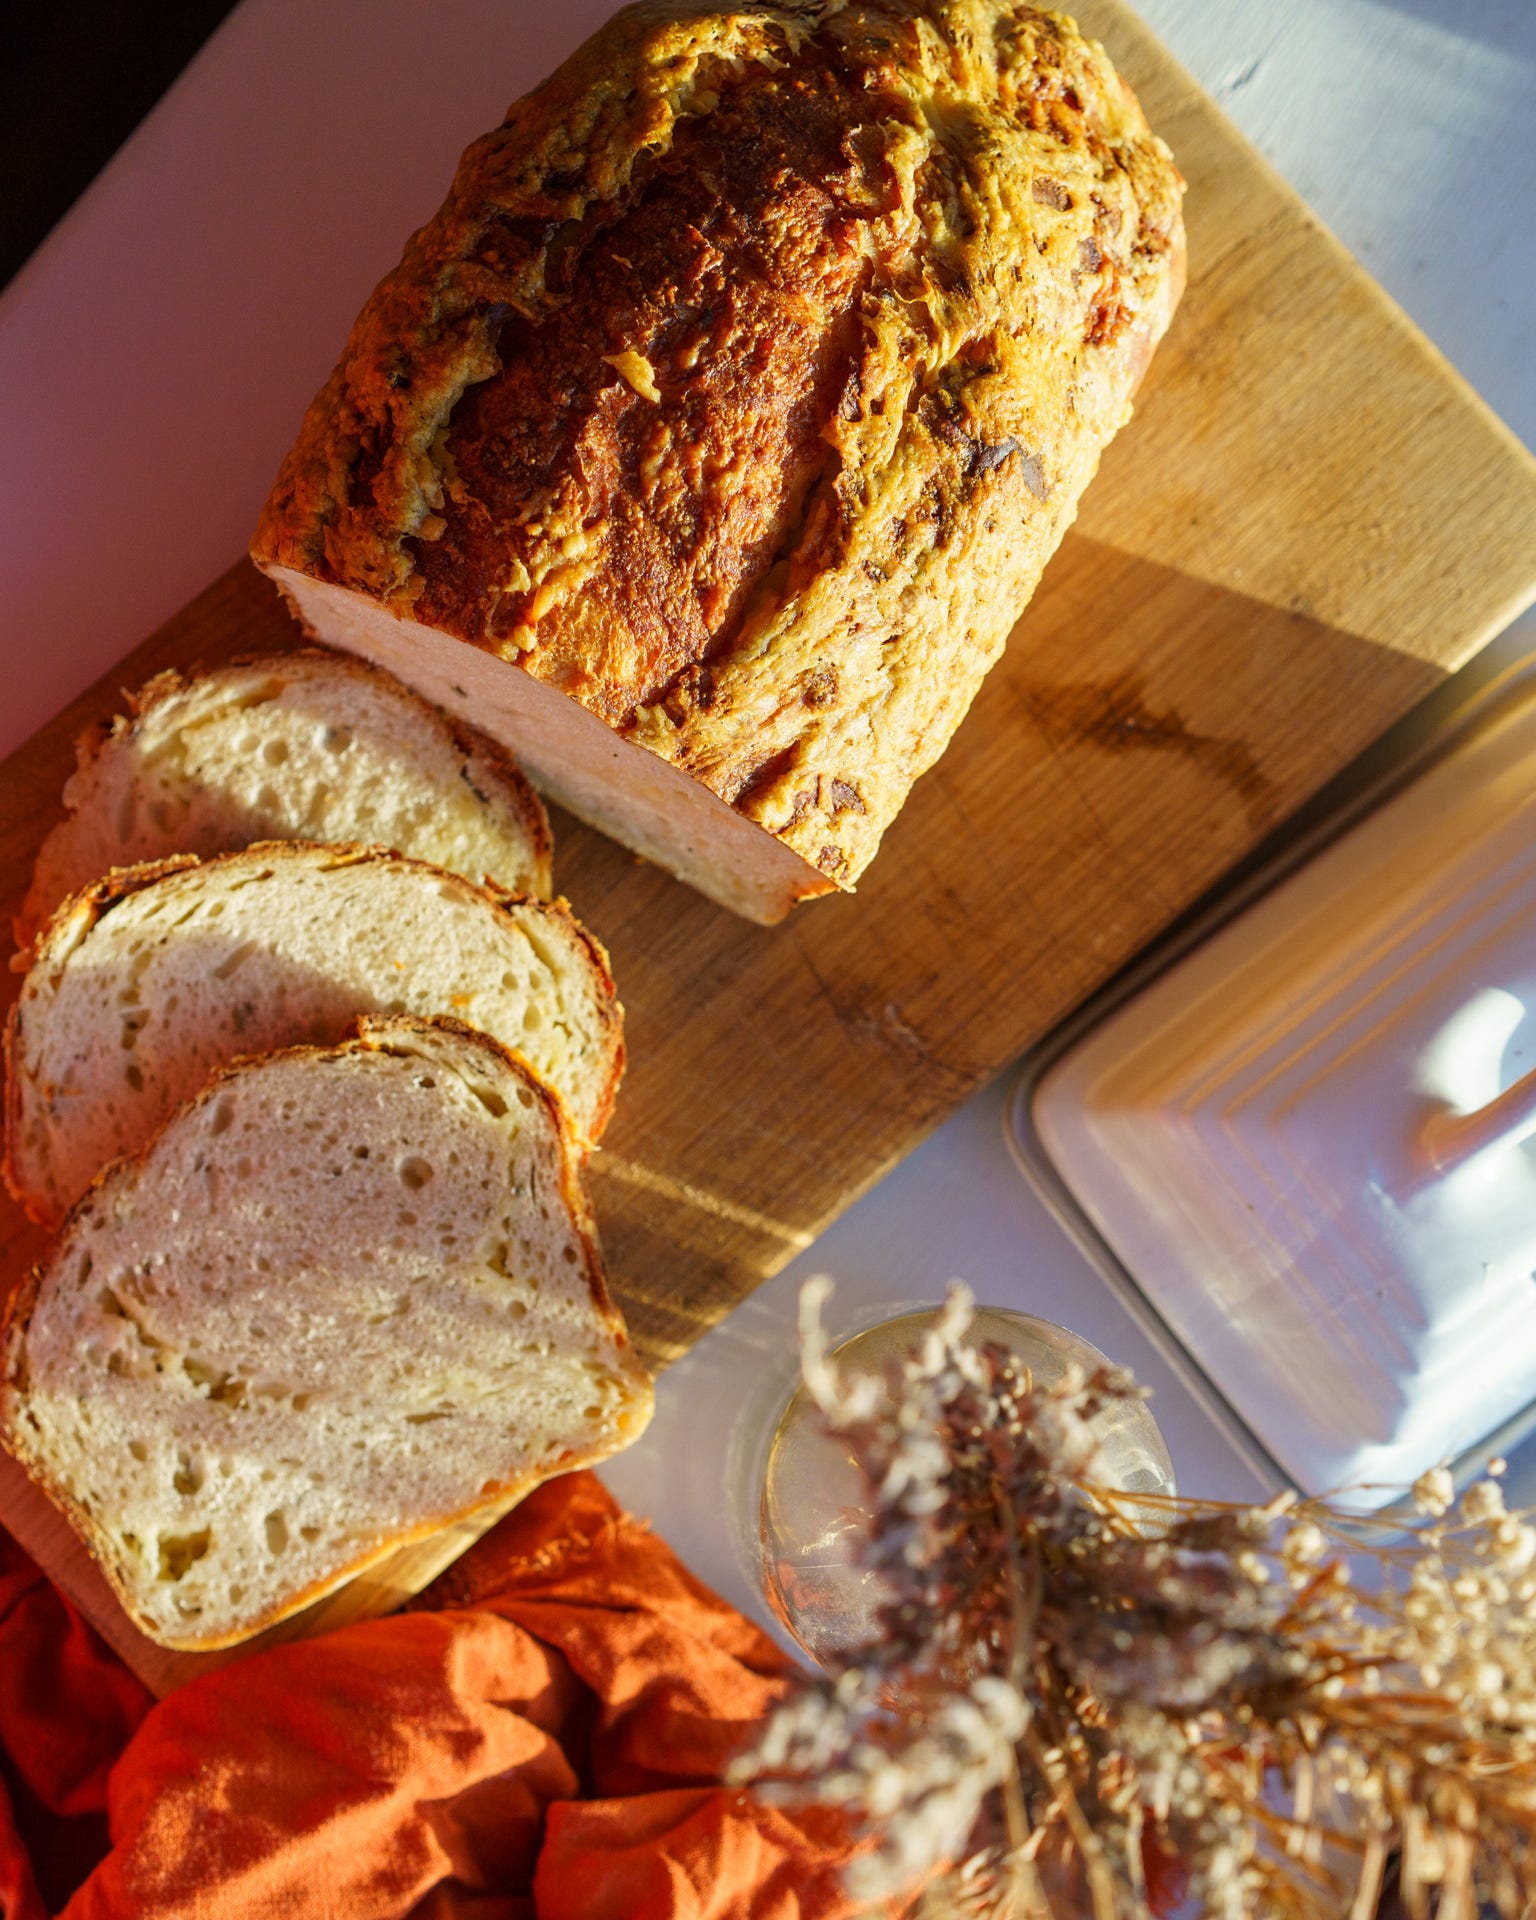
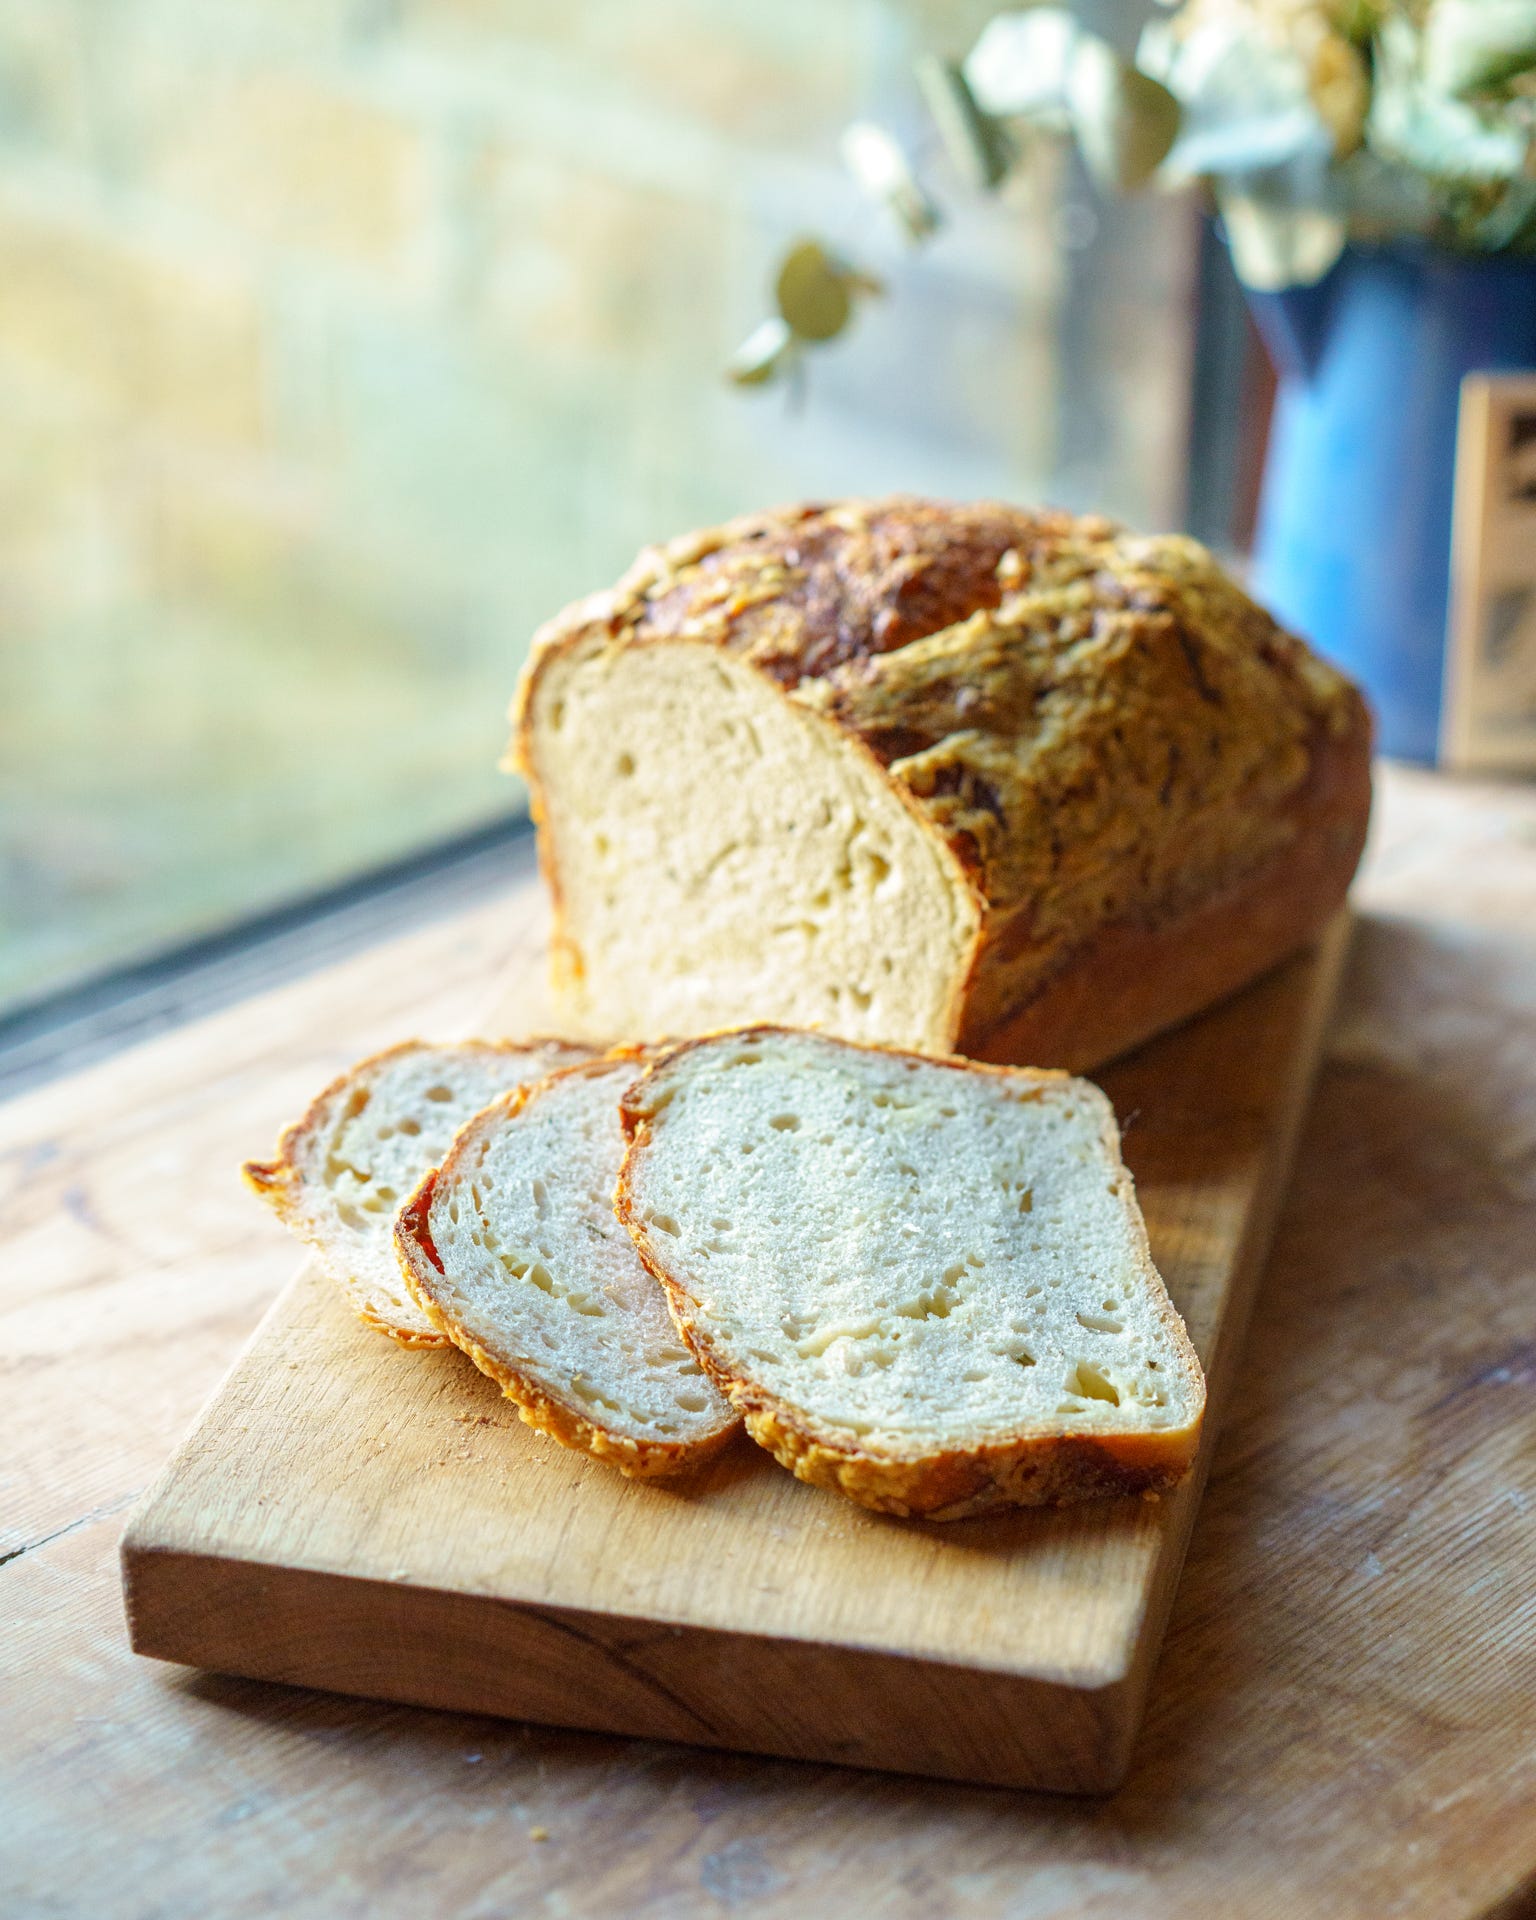
A Lovely Little Cheddar and Rosemary Loaf
this makes perfect chilly morning toast or an ideal dipper for soup season

People choose many different ways to find moments of calm in this hectic world. For some, it can be as simple as curling up in front of a crackling fire with a good book.
For others, it’s a little more extreme—what I’d call the complete antithesis of relaxation. Instead, they spend their spare time impersonating a decent bottle of fizz, dunking themselves in and out of an ice bucket for a couple of hours, all while mentioning ‘Wim Hof’ to anyone who will listen.
I haven’t yet braved this frosty fad, though the sauna part does sound quite appealing. My way of switching off is far simpler—maybe even a little basic to some. But for me, finding calm means making bread.
It’s a process I absolutely love. You can be as complicated or as rustic as you like, but I’ll never stop marveling at the magic of combining flour, salt, water, and yeast—humble ingredients that come together to create something so comforting. To me, a fresh loaf is the epitome of home. Making it yourself? That’s the ultimate expression of the ‘wholesome’ lifestyle. No matter my mood, life always feels a little better when there’s a good loaf on the side. And honestly, I can’t think of too many situations that aren’t improved with a slice of freshly buttered, golden, toast.
In fact, a study published in the Journal of Psychology a little over a decade ago found that the smell of freshly baked bread makes people nicer. In the experiment, researchers from the University of Southern Brittany had participants stand outside either a bakery or a clothing store and drop an item—such as tissues or keys—as a stranger approached. Outside the clothing store, passersby helped 52% of the time. Outside the bakery, that figure shot up to 77%. Ignoring other variables, I think we can safely conclude one thing: bread makes people happier.
Recently, we talked about a few gentle ways to enjoy what is quite a gloomy, quieter month and one of those was to try your hand at making a loaf. I’ll link below to the post, but even if you’re a complete novice, I’d urge you to give it a try. It is such a mindful activity, each stage takes the time it takes and can’t be rushed.

In the era of instant gratification, taking a moment to knead and work a loaf is such a rewarding way to spend a few hours. You can even do it around other activities using each stage as a little calming break. Plus, at the end of it, you have something truly delicious to tuck into.
I will be honest and say that this recipe is probably not an ‘everyday’ loaf. If you want to make one of those, then omit the cheese and garlic… The rosemary can stay. It is though, a real nostril-filling show stopper and one that won’t sit on the side for long as it seems to mysteriously vanish before your eyes.
Think of this loaf as a meal in one, perfectly paired with some glorious pickles and ferments… Or toasted and slathered in butter for a rich and hearty snack on a chilly winter’s day.
I hope you like this recipe and if you do, please do share!

Recipe
Ingredients
500g Strong Bread Flour
2 tsp Salt
300/350g Water - Warm to the touch
Pinch of sugar
7g Yeast (one sachet)
3 or 4 Sprigs of Rosemary - Leaves removed and chopped finely
2 or 3 Cloves of Garlic - Peeled and finely chopped
75g Cheddar Cheese - Grated
Equipment:
A large mixing bowl
A medium-sized loaf tin
Note: Different brands of flour can be a bit temperamental when it comes to water, so start with 300ml and add more if needed. The dough shouldn’t be too sticky or unworkable, especially if kneading by hand.
Method
Begin by combining the flour, salt, garlic, and rosemary in a big mixing bowl. Stir well to even distribute the ingredients
Pour in the of warm water, holding back 50ml in the measuring jug. Mix lightly to form a scruffy dough, then let it rest for 10 minutes (this step, called autolyse, it helps the flour absorb the water and strengthen the dough).
Meanwhile, dissolve a pinch of sugar in the reserved water, sprinkle in the yeast, and stir. Leave this for about 10 minutes so that it gets nice and foamy. This gives the yeast a headstart and makes the dough nice and airy. Once it looks bubbly, add it to the dough.
Start bringing everything together with a damp hand. It’ll feel loose and messy at first, but as you work it, the dough will start to tighten up. Once you’ve got a rough ball, turn it out onto a floured surface and knead for about 10 minutes. If you’ve not done this before, simply push your fist into the dough, stretch it as far forward as you can before it rips and fold it back. Repeat this until it feels elastic and springs back quickly when poked.
Pop the dough back into the mixing bowl, drizzle a little olive oil over the top to stop it drying out, and cover the bowl with a damp tea towel. Leave it somewhere warm to rise until it’s doubled in size—this usually takes about an hour and a half, but it depends on your kitchen temperature.
Once the dough has risen, lightly flour your loaf tin and preheat your oven to its highest setting. You want it nice and hot to ensure a good crust.
Dust your work surface with a bit of flour and tip the dough out. Flatten it gently with your hands, then stretch it into a rough rectangle, about the length of your loaf tin. Sprinkle the cheese over the dough, holding back a handful for the topping.
To shape the loaf, fold the left side of the dough into the centre, then do the same with the right. Next, starting from the bottom edge, roll it up tightly like a yoga mat until it looks like a sausage. Keeping the seam underneath, tuck the ends under and gently wobble the dough to shape it to fit your loaf tin. Place the dough in the tin, and let it rise again for 30–40 minutes, until it looks airy.
Next, use a sharp knife to score a line down the middle of the risen dough, sprinkle over the remaining cheese, and pop it straight into the oven. Bake at the highest setting for 10 minutes, then lower the temperature to 180°C and bake for another 25–30 minutes.
When it’s done, take the loaf out of the tin and let it cool on a wire rack. Try to resist cutting into it straight away—it’s worth the wait to let it cool properly otherwise the texture can become dense. Once its only slightly warm to the touch, it’s ready to be scoffed down. Enjoy!
Thank you for trying this recipe and for reading our Substack! If you liked it, please consider subscribing—whether free or paid, your support means so much to us.
Until next time,
Jack x
This sounds delicious. I’ve never made bread entirely by hand, from scratch but might have to give it a go!
I can almost taste it! Thank you for the recipe. I have one other recipe from you - the Squash Gratin and it is amazing!